The bathroom consist of
- Shower base (Dreamline corner drain in black from Lowe's),
- Ceramic cassette toilet ( Dometic CT4110, Ebay)
- Ceramic sink (Gutviken, Ikea)
- Pullout kitchen faucet
- Under sink cabinet
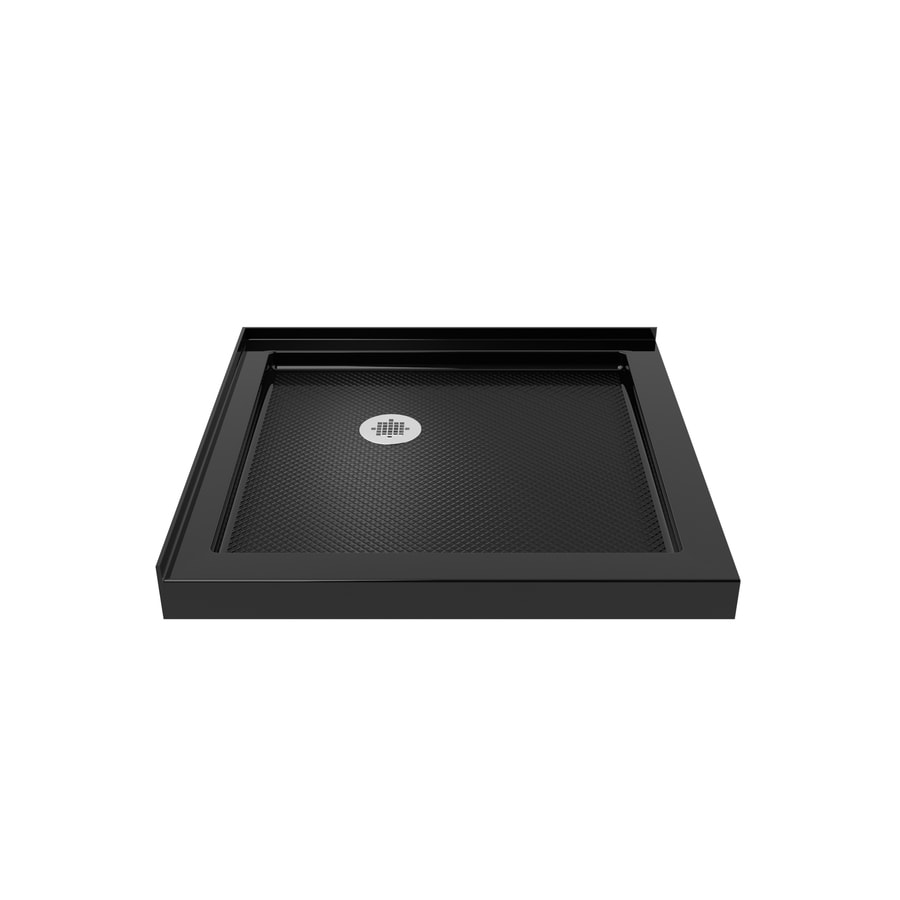


The bathroom came out to be relatively large. The size was determined by the size of the shower base, which was originally 32"x32". However, 32" was too much extending into the aile, and on the other hand not enough long. So I cut 2" piece from one side and attached it using Bondo epoxy to another side, thus getting 30" deep and 34" long bathroom.
Original intent was to go without a sink, however when the room was framed, we realized that it is quite large enough to put a small sink in the corner by the window where we had the water plumbing protruding out of the wall anyway. Luckily, we found very elegant small (11x15) ceramic sink in Ikea, which perfectly fit in the wall configuration of the corner.
 The bathroom side walls are made from plastic covered Ikea panels that are screwed to the floor, ceiling , van walls and shower base. The rear wall (van's wall) is insulated with 1"rigid foam insulation and has a square hole for the cassette. The sink is supported by a small cabinet with the corian countertop (same material that was used for the kitchen countertop). The toilet is sitting on a rigid foam pedestal (pink) that levels the shower base surface and raises it above the small shower base walls in order to be able to remove the cassette.
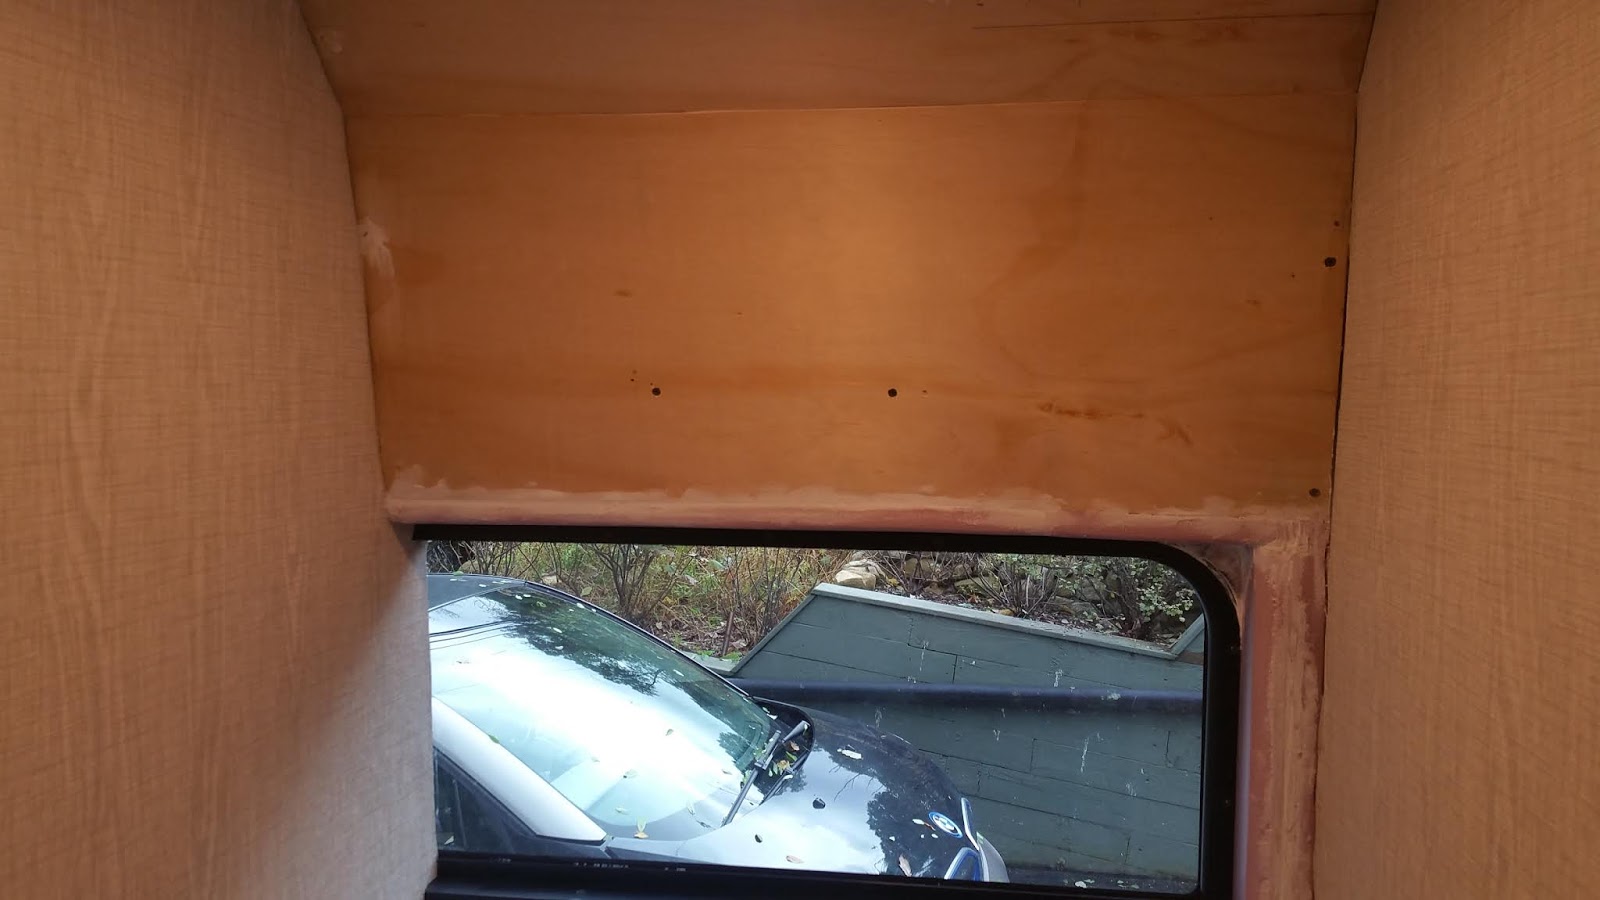
The insulation is paneled with the 5mm plywood as everywhere in the van. The bathroom has a window with lower part opening out, which is a front part of the large CRL window. The window is framed around with the rigid foam insulation (glued with Sikaflex, small gaps filled with filler and sanded ) that fills all gaps and is easy to work with to make complicated smooth transitions between various surfaces.

Then, all surfaces are covered with water proof vinyl material which I bought at the Habitat for Humanity store - $15 for a huge roll. I do not know what it is - there were no label. It looks like wallpaper, but it is vinyl, 56" wide, very sturdy and has slight texture that resembles grey wood grain. I used it for covering the ceiling and it worked nice. So I decided to use it also for the bathroom and some lower panels in the van. I glued it to the walls with the Roberts 6700 carpet glue from the HD. This glue is not bad to work with - becomes sticky quite fast, but stays soft for a long time, so there is no rush and it is possible to fix mistakes: remove and reattach better.


After that, I mounted the sink, and finished the plumbing. The faucet has a pullout, which in the pulled out state serves as a shower - just need to find a nice holder and attach it to the ceiling. For the sink drain, I used the same 1" rubber hose, as for the kitchen sink, for which I drilled the hole inside the cabinet through the shower base and floor. Later, the hose will be connected to the grey water tank under the van. And finally, I attached the cabinet door. The plumbing details are shown below.


And here is the final almost finished bath - just need to add the shower head holder and a curtain and waterproof corner seams, which will be done when the weather becomes warmer.


No comments:
Post a Comment