My approach, as can be seen in previous pages, is completely different.The original goal of the ultimate conversion was to put as much as possible amenities in a relatively small volume. To achieve this I had to use every inch of the space and custom fit the installed elements to the size and form of the original van shell.
Thus insulation an paneling came as one of the last step when all equipment, piping, and electrical was already in place.
The insulation material used is combination of following:
- one pack of Noico (Amazon) - all around walls, wheel wells, and ceiling
- one sheet of 1" polyiso (Lowe's) - ceiling
- one pack of 2" Havelock wool bats ( Havelock, 124s.f.) - walls, ribs and pillars, and small part of ceiling
- some odd pieces of rigid insulation (leftovers from the floor) - bathroom wall.
Why Havelock wool? Most builders, as I have seen, use for the similar purpose Thinsulate. It is quite expensive and I was not sure about the thermal insulation quality. The Havelock people say their material is quite better both in sound and especially in thermal insulation. It's hard to say if is this true or not, but the price was more attractive (about half of thinsulate), so I decide to give it a try.
I actually have seen only one video about using this wool, so I want to share my experience with wool installation. Hopefully it could be helpful for other builders deciding what to use for insulation.
Good.
- It comes in the form of 2" thick (when uncompressed from the pack) 48"x16" bats.
- Can be cut easily with regular scissors.
- Can be glued with spots of 3M spray adhesive (I did not sprayed full area, seems to be excessive, mostly edges and spots in the middle).
- Easy to fill ribs and nooks - cut a band and just push it inside with a thin stick and it fills more or less evenly the space.
- Also, for me, it is nice on touch as it has that immediate feeling of warms when you touch it.
- It has some slight natural odor of a sheep, so when I stored it open in the garage, there was a slight smell like on a farm. I was afraid it would smell in the van also, however after covering all open wool with paneling, I do not feel any noticeable smell.
- It makes quite a lot of thin dust of those small pieces of wool fibers when you cut it or just work with it. The dust is easily vacuumed, however for people with allergies it might be a problem. I do not have any allergies, so no bad experience.
For the paneling, I used 5mm plywood, which I had plenty, as the van was all covered inside with it when I bought it.
Due to my approach, insulation and paneling was not done as one single step, but rather a sequence of separate local steps when this or that part of the van was ready for it. Because of it, I do not have a pictures that would show complete process for the full van, but rather some local areas that show details of the process. Hopefully those images can give the idea of how I did it.
 The very first step was sound proofing with Noico. I bought 50s.f., and it was enough to cover doors, walls, wheel wells, and do most of the ceiling strips between the roof ribs.


Doing insulation and paneling was essentially one step: I put insulation and immediately covered it with the plywood panel, which I simply screwed to the ribs of the van, without any furring strips.
I started insulation from doing doors, which was trivial - remove the panels and fill the interior with pieces of wool. Then I did the passenger side wall behind the future kitchen and water tank.


After that I did the driver side rear wall


and then the front part of the driver side wall behind the seat.
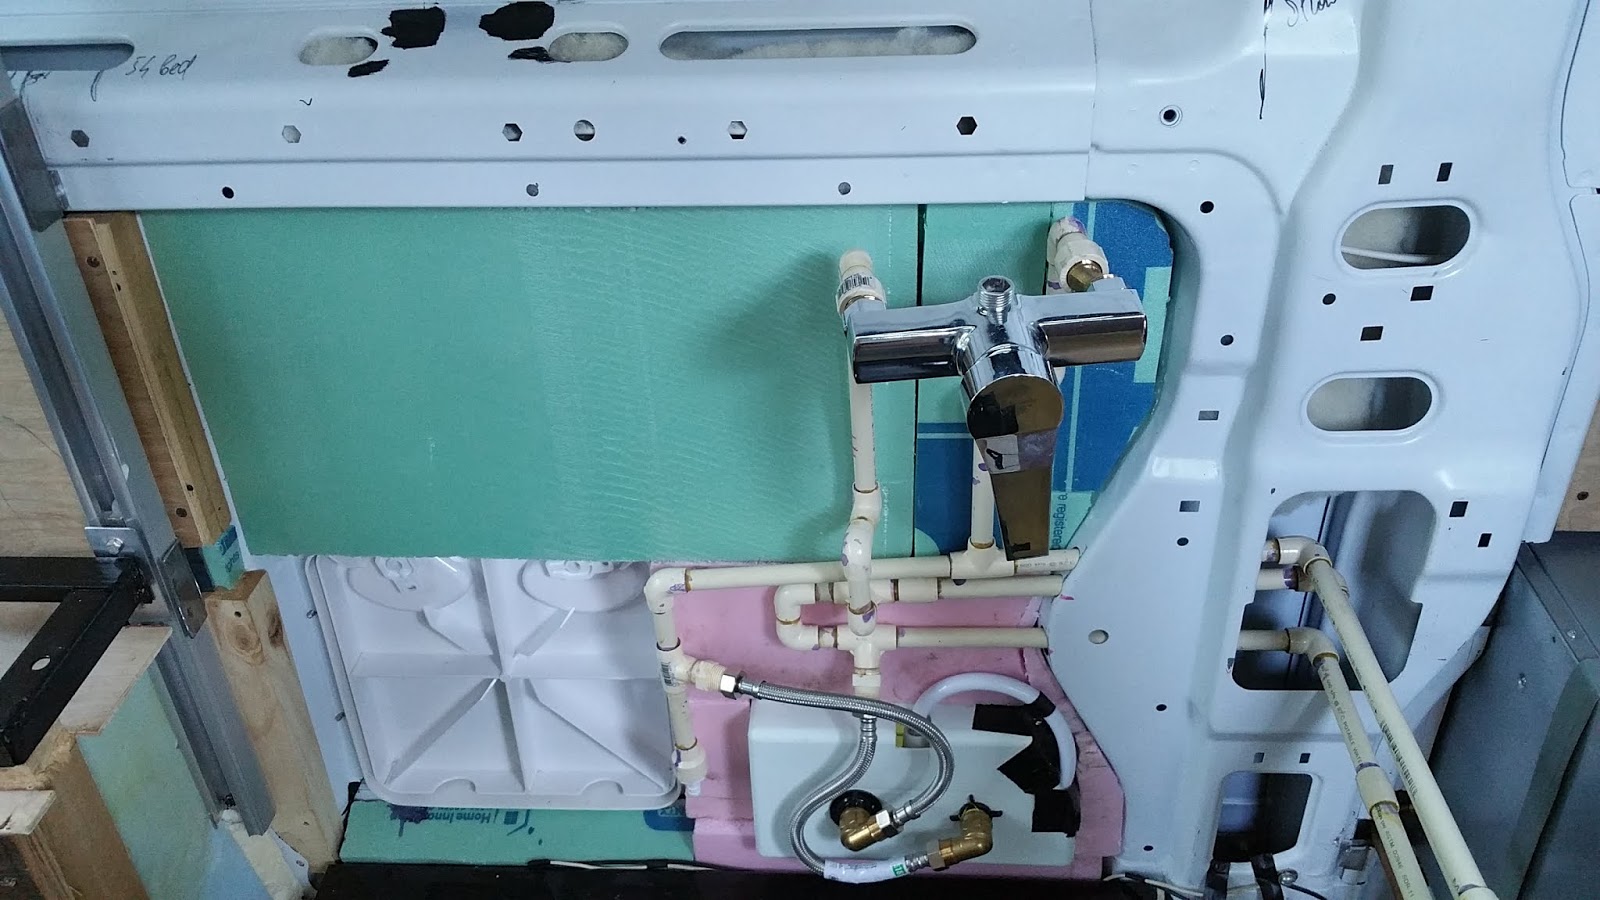 In the bathroom, I used the rigid insulation, because I had leftovers of it, and because i did not have a plan yet how to do the paneling, which at the same time would be part of the bathroom wall, and I did not want to have the wool be left uncovered.
For the ceiling, I bought one sheet of polyiso, that covered most of the ceiling except the very rear, where I put the wool, of which I had enough. I do not have images of the process since I was doing it quite fast and putting the plywood immediately after gluing the insulation sheets with 3M spray adhesive. The roof is curved, so to fully glue the rigid insulation board would require building the support system, which I was lazy enough to do. So I put some glue on the edges of insulation panels and while supporting it with one pole, quickly screwed the plywood panels to the roof metal ribs. No Great Stuff foam, or any similar sealant that most builders apply, was used. I intentionally did not try to do a sealed air tight insulation, since I do not think it is possible. The polyiso lay on the plywood paneling with bright aluminum foil facing the roof, which hopefully further reduce radiation losses as there is an air layer between the insulation and the roof. At the same time as doing the ceiling panels, I also did the ceiling light wiring and fitted the LED ceiling lights in the ceiling holes. The final look of some of the ceiling paneling is below.


No comments:
Post a Comment